Rina Sato
Valorant Summit Map Guide (2026) | Callouts, Walls & Strategies
Master Valorant Summit with our 2026 map guide. Learn the key callouts, droppable walls, best agents, attacking strategies, defensive setups and ranked tips.
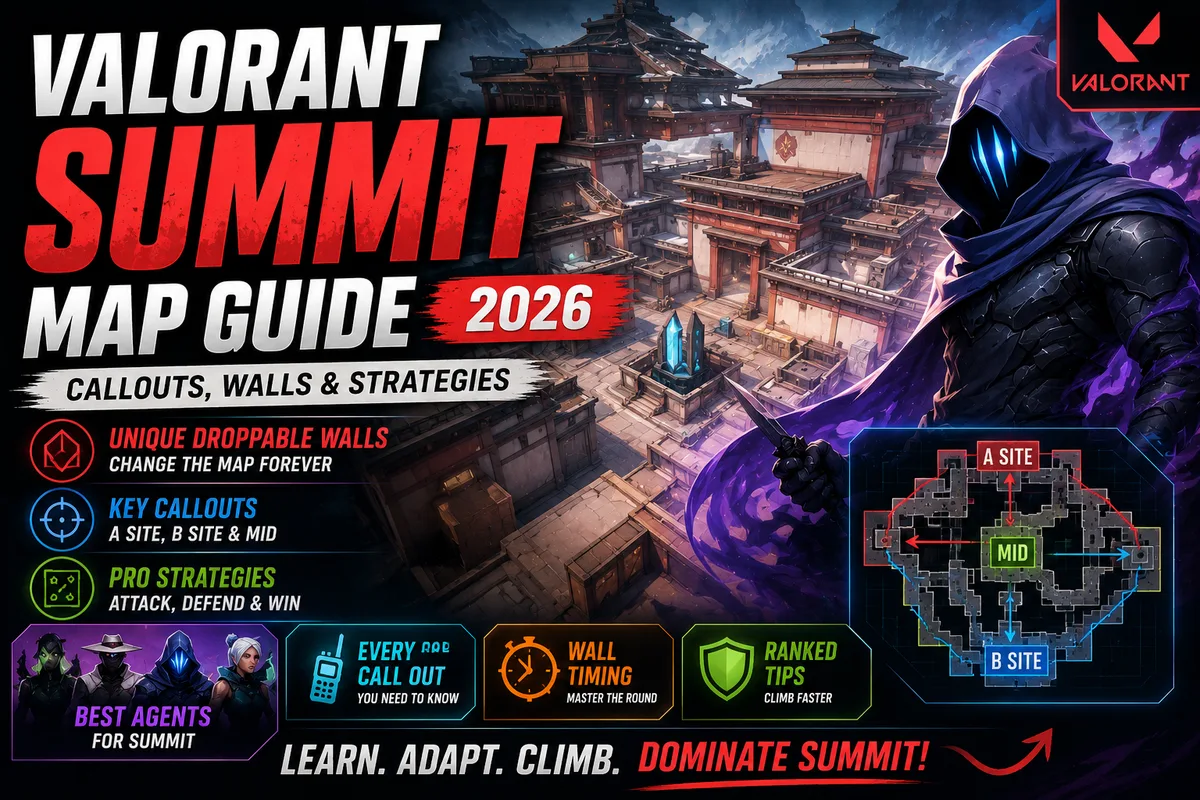
Valorant Summit Map Guide (2026) | Callouts, Walls & Strategies
Summit is one of the most unusual maps in Valorant.
At first glance, it looks familiar: two Spike Sites, three main lanes, and a large central area connecting the map.
But Summit has one mechanic that changes almost everything.
Players can permanently drop sections of wall during a round.
Once a wall is activated, that part of the map stays changed for the rest of the round.
That means rotations, sightlines, defensive positions and post-plant setups can all change while the round is still being played.
Summit rewards players who understand the map rather than simply memorizing aim angles.
In this guide, we'll cover the most important Summit callouts, explain the wall mechanic, look at strong agents, and give practical attacking and defensive strategies for ranked games.
What Is the Summit Map in Valorant?
Summit is a 5v5 Spike map introduced with Season 2026 Act 4.
It features:
- Two Spike Sites
- Three main lanes
- A large central Mid area
- Multiple rotation paths
- Vertical positions around B
- Three interactive droppable walls
Riot describes Summit as a Radiant training academy located in the mountains of China.
The map was added directly to Competitive when it launched. Riot also gave Summit a temporary launch adjustment where RR losses were reduced by 50% for the first two weeks, while wins still awarded full RR. That launch protection has long since expired.
The important part for current players is that Summit is no longer a brand-new experimental map.
You should approach it like a normal competitive map and learn its rotations, utility and timing.
Summit Map Layout
Summit uses a three-lane structure:
A Side
Mid
B Side
The map is relatively large, and Mid is extremely important because it connects several routes between the two sites.
A simplified way to think about Summit is:
A Main → A Site
Mid → A Link / B Link
B Main → B Site
But the actual rotation network is much more complicated.
That is why controlling Mid can be more valuable than simply winning an early duel on one of the main lanes.
The Most Important Summit Callouts
You don't need to memorize every location on your first game.
Start with the major areas.
A Side
Important A callouts include:
- A Lobby
- A Main
- Garden
- A Site
- A Art
- A Cave
- A Hall
- A Link
Mid
Important Mid callouts include:
- Mid Top
- Mid Tiles
- Mid Fountain
- Mid Bend
- Mid Bottom
- Mid Window
B Side
Important B callouts include:
- B Lobby
- B Main
- B Site
- B Link
- B Trophy
- B Gym
- B Tower
- B Drop
Learning these areas gives you enough information to communicate effectively in ranked.
Don't try to memorize every tiny corner immediately.
Learn the routes first.
Why Mid Is So Important on Summit
Mid is arguably the most important strategic area of Summit.
The central section connects the two sides of the map and gives attackers multiple options.
If attackers control Mid, they can threaten:
- A through A Link
- B through B Link
- Defensive rotations
- Late-round splits
- Lurks
For defenders, losing Mid can create a difficult situation.
You may have five players alive, but still have no idea which site the attackers are going to hit.
That uncertainty is exactly what makes Summit dangerous.
Summit's Droppable Walls Explained
The defining mechanic of Summit is its three droppable walls.
There is one associated with:
- A
- Mid
- B
Players can activate the wall through the nearby mechanism.
Once activated, the wall drops and permanently changes that section of the map for the remainder of the round.
The wall does not simply behave like a normal door.
You should think of it as a round-changing decision.
Why Wall Timing Matters
Dropping a wall can:
- Cut off a rotation
- Remove a sightline
- Create a safer plant
- Force enemies through another route
- Reduce the number of possible retake paths
- Protect a post-plant position
- Prevent a late flank
But there is a tradeoff.
Once the wall is down, you cannot simply restore the original route during that round.
So activating it immediately isn't always correct.
Don't Drop Walls Automatically
One of the biggest mistakes new Summit players make is activating walls simply because they can.
That's not a strategy.
Before dropping a wall, ask:
What does this wall give us?
Which route are we removing?
Could we need that route later?
Where is the enemy?
Are we attacking or defending?
Does the wall help the next phase of the round?
If you don't have a reason, keep the wall available.
Attacking A Site on Summit
A Site is smaller than B and can become difficult to enter if defenders are holding multiple close angles.
A simple attacking approach is:
1. Establish control of A Main.
2. Clear Garden.
3. Watch for A Link pressure.
4. Use utility to remove close defenders.
5. Take the site together.
6. Decide whether the A wall helps the plant or post-plant.
7. Set up crossfires after the Spike is planted.
The biggest mistake is entering A without enough information.
Because the site is relatively compact, defenders can punish attackers who enter one by one.
A Site Split Through Mid
One of the strongest reasons to control Mid is the possibility of splitting A.
Instead of sending all five players through A Main, your team can create pressure from:
A Main + A Link
This forces defenders to consider multiple angles.
It can also make defensive utility less effective because defenders have to cover more than one entrance.
The key is timing.
If your Mid players arrive too early, they can die before the A Main group is ready.
If they arrive too late, the defenders may already have repositioned.
Attacking B Site
B is larger and has several defensive positions that attackers need to clear.
A basic B execute should focus on:
- B Main control
- Close angles
- Site cover
- B Link
- Defender positions around B Tower and deeper areas
Don't rush directly onto the plant zone without clearing the positions that can punish you.
A player surviving in a deep B position can become extremely valuable during the retake.
B Site and Vertical Angles
B is more complicated vertically than A.
You have positions such as:
- B Tower
- B Gym
- B Drop
This means players need to communicate vertical information.
Simply saying:
"One B!"
isn't very useful.
A better call is:
"One B Tower."
or:
"One dropped from Tower."
Precise calls give your teammates a much better idea of where to aim and where the threat is coming from.
Best Attacking Strategy on Summit
A strong default is to avoid committing five players to one side immediately.
Instead:
Step 1: Take Early Information
Use utility and safe positioning to discover where defenders are playing.
Step 2: Contest Mid
You don't necessarily need to fully own Mid.
Even forcing defenders to respect Mid can create value.
Step 3: Keep Both Sites Threatened
Make defenders uncomfortable.
If they stack one site, your team should be able to punish it.
Step 4: Use the Wall When It Creates Value
Don't activate it just because the button is available.
Use it when the changed geometry benefits your execute, plant or post-plant.
Step 5: Finish Together
Summit has enough space that isolated players can disappear from the round.
Trade your teammates.
Don't turn a good map-control advantage into five separate duels.
Best Defensive Strategy on Summit
Defenders should prioritize information.
A simple defensive setup is:
- Two players around A
- One Mid player
- Two players around B
The exact setup can change depending on your team composition and enemy tendencies.
The important principle is avoiding a situation where attackers gain Mid for free.
If attackers have A Main and Mid, they have several options.
If they only have A Main, the defense has much more information.
Defending Mid
Mid is one of the areas where utility can have enormous value.
You don't necessarily need to fight for every inch.
Sometimes your goal is simply to make Mid expensive.
Use:
- Recon
- Traps
- Smokes
- Flashes
- Slow effects
- Area denial
If attackers have to spend significant utility just to enter Mid, the defense gains information and time.
Don't Over-Rotate on Summit
Summit's large rotation network can trick defenders into rotating too quickly.
You hear players A.
You rotate.
Then the attackers use Mid.
You rotate again.
Now your team is constantly moving while the attackers control the pace.
Instead, rotate based on information.
Ask:
- Where is the Spike?
- How many enemies have been seen?
- Which utility has been used?
- Is Mid controlled?
- Which wall has been dropped?
- What routes remain available?
The wall state is particularly important because it changes the possible rotation paths.
Best Agents for Summit
There isn't one mandatory composition for Summit.
However, certain agent types have obvious advantages because of the map's size, sightlines and wall mechanics.
Cypher
Cypher is extremely useful when you want information and flank control.
His traps can help secure areas while the team focuses elsewhere.
He is particularly valuable when attackers are trying to exploit the map's multiple rotation paths.
Sage
Sage can take advantage of Summit's geometry by creating additional barriers and forcing attackers to change their approach.
Her ability to control space can become especially useful when combined with the map's permanent wall changes.
Sova
Sova is valuable because Summit gives him several areas where information can reveal whether attackers are committing or simply creating pressure.
Recon can help determine whether a site is genuinely being attacked.
Skye
Skye provides a strong combination of information and initiation.
Her utility can help clear areas before the team commits.
She can also help teams that struggle to coordinate their first entry.
Omen
Omen is a flexible Controller option because the map has multiple routes and long rotations.
His ability to create temporary vision blockers can help isolate sections of the map.
Viper
Viper can be useful when your team wants stronger control over long lanes and site approaches.
Her utility can help divide areas and make certain approaches more difficult.
Jett
Jett can benefit from Summit's long sightlines and multiple aggressive angles.
She can also create space for teammates when an entry requires a fast commitment.
Raze
Raze can be valuable for clearing tight positions and punishing defenders who hide behind predictable cover.
Her mobility also gives her options for aggressive site entries.
A Practical Summit Team Composition
For a balanced ranked composition, you could build around:
Controller: Omen or Viper
Initiator: Sova or Skye
Sentinel: Cypher or Sage
Duelist: Jett or Raze
Flex: Another Initiator, Sentinel or Duelist depending on the team
You don't need to copy this exact composition.
The important thing is covering:
- Smokes
- Information
- Flank control
- Entry
- Site protection
Summit Post-Plant Strategy
Don't treat the post-plant as a normal 5v5 fight.
Your team should already know:
Where are we holding from?
Which routes can the enemy use?
Which wall is still available?
Which utility do we have?
Where can the Spike be safely defended?
If your team controls the important entrances, the enemy may be forced into predictable retake paths.
This is where Summit's walls become particularly valuable.
Summit Retakes
Defenders should avoid retaking one by one.
The map gives attackers plenty of opportunities to create isolated fights.
Instead:
1. Regroup.
2. Identify the Spike location.
3. Identify remaining enemy utility.
4. Determine which routes remain open.
5. Use utility to clear key positions.
6. Enter together.
7. Trade kills.
A coordinated 3v3 retake can be stronger than three separate 1v1 attempts.
Common Summit Mistakes
1. Ignoring Mid
This gives attackers too many options.
2. Dropping Walls Without a Plan
You permanently change the round.
3. Fighting Alone
The map is large enough for teammates to become isolated.
4. Forgetting B's Vertical Positions
Tower, Gym and Drop create different angles.
5. Rotating Too Early
Information is more valuable than panic.
6. Using All Utility Before the Execute
Keep enough utility for the actual site hit and post-plant.
7. Not Communicating Wall States
A wall change can completely alter the next rotation.
How to Learn Summit Quickly
You don't need 100 games to understand the basic structure.
Use a simple progression.
First 3 Games
Learn:
- A Main
- B Main
- Mid
- A Link
- B Link
Next 3 Games
Add:
- Garden
- A Art
- A Cave
- B Tower
- B Gym
- B Drop
Next 3 Games
Focus on:
- Wall timing
- Mid control
- Rotations
- Post-plant positions
After that, start learning agent-specific setups.
Best Way to Practice Summit
Don't only play ranked.
Use lower-pressure modes to learn the map.
Walk through the routes.
Practice clearing common angles.
Learn how quickly you can rotate from Mid to either site.
Practice your utility.
Then bring that knowledge into Competitive.
Riot also introduced a temporary Summit-only queue when the map launched, using the Swiftplay format. That launch queue is no longer the main way to learn the map, but the principle remains useful: practice the map before expecting perfect ranked performance.
Summit and Game Sense
Summit is an excellent map for improving game sense.
Why?
Because the map gives teams multiple options.
You need to think about:
- Information
- Rotations
- Wall states
- Map control
- Timing
- Utility
- Numbers advantages
This connects directly with our guide on [how to improve game sense in Valorant].
If you're constantly dying on Summit despite having decent aim, the problem may not be mechanics.
You may simply be making the wrong decision with the information available.
Summit Ranked Tips
If your goal is climbing on Summit, keep these five rules in mind:
1. Control Mid without overextending.
2. Treat every wall as a strategic resource.
3. Communicate exact locations.
4. Trade your teammates.
5. Don't rotate based on one sound cue.
These five habits alone can make Summit much easier to play.
Final Thoughts
Summit is different from traditional Valorant maps because the map itself can change during the round.
The three droppable walls create decisions that don't exist on most other maps.
That means memorizing callouts isn't enough.
You need to understand:
- Why Mid matters
- When to activate walls
- How rotations change
- How to attack each site
- Which agents provide useful information
- How to defend against splits
- How to play the post-plant
Start by learning the major callouts.
Then learn the wall locations.
Then focus on Mid.
Once those three things become automatic, the rest of the map becomes much easier to understand.
If you're working on your overall Valorant climb, also check our [Valorant Game Sense Guide], [Valorant Economy Guide], [Best Valorant Crosshair Codes], [Best Valorant Settings for FPS], and [How to Rank Up Fast in Valorant].
If you want help reaching a specific competitive rank, you can also explore our [Valorant Boosting] service.